

How to Use Jack Stands Safely: Correct Support Points

Use jack stands on flat, hard ground. Lift at the vehicle’s factory jack points or a manufacturer-approved support point, then place stands as a matched pair at the same axle or support zone. Wrong placement or soft ground can let the car shift, crush, or fall. This guide explains the basic checks to make for your vehicle, then confirms stability with a pre-underbody checklist. (Thedrive)
What you’ll need
- Hydraulic floor jack with a readable capacity label
- Jack stands rated for the vehicle’s weight and the load on each stand or pair
- Wheel chocks
- Owner’s manual
- Work light
- Gloves and eye protection
📊 Check current recall notices for your exact jack stand model before use. Source: How To Use Jack Stands.
Where should jack stands go?
The right place depends on the vehicle layout. On many unibody cars, approved support points are reinforced factory jack points or pinch welds. On many trucks and body-on-frame SUVs, the frame is the usual support point when the manual allows it. Do not guess from body shape alone.
Unibody cars
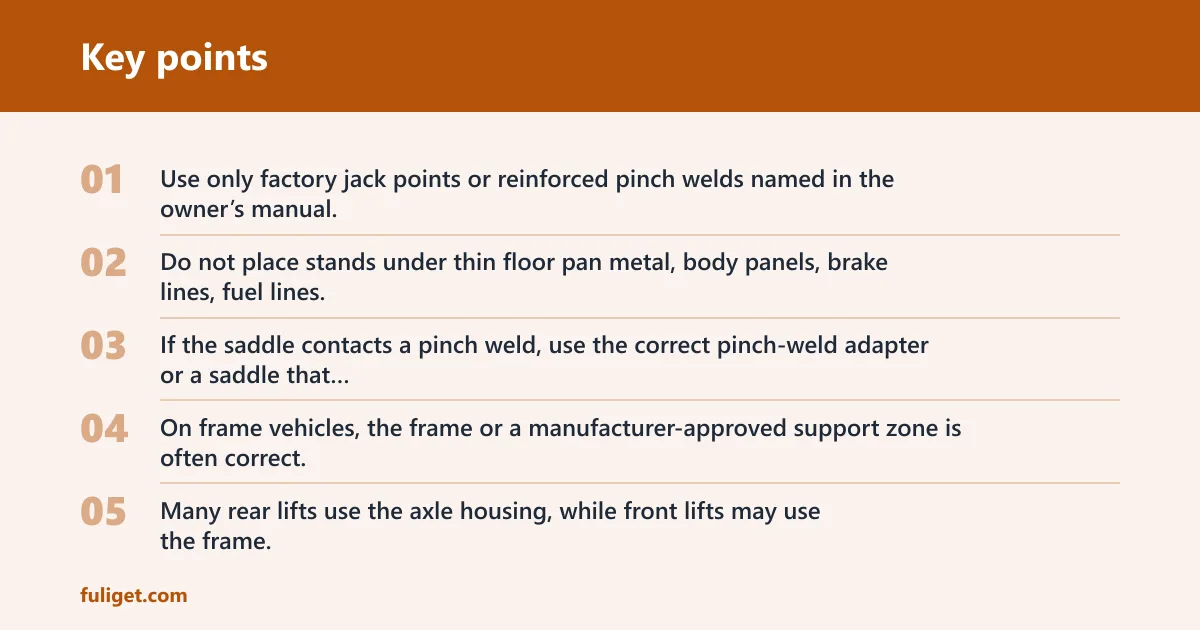
Use only factory jack points or reinforced pinch welds named in the owner’s manual. Do not place stands under thin floor pan metal, body panels, brake lines, fuel lines, or any area the manual does not approve. If the saddle contacts a pinch weld, use the correct pinch-weld adapter or a saddle that fits the reinforced section so it does not crush the seam.
Body-on-frame trucks and SUVs
On frame vehicles, the frame or a manufacturer-approved support zone is often correct. Many rear lifts use the axle housing, while front lifts may use the frame, front subframe, or another approved point. The manual decides. If the manual does not list the point, do not use it.
Rear axle and front subframe checks
Rear axle support is common for some solid-axle vehicles because the axle is a structural member. Front subframes are common on many front-wheel-drive and unibody vehicles, but only where the manual allows load transfer. Watch for brake hoses, sway-bar links, exhaust parts, and steering components that can interfere with the saddle.
Park on a flat, level surface and keep the parking brake engaged. Use wheel chocks on the wheels that stay on the ground, placed opposite the lifted end or diagonally opposite the lifted wheel. A hydraulic floor jack is the safer regular lifting tool, and it should raise the vehicle only high enough to fit the stands. (Wikihow)
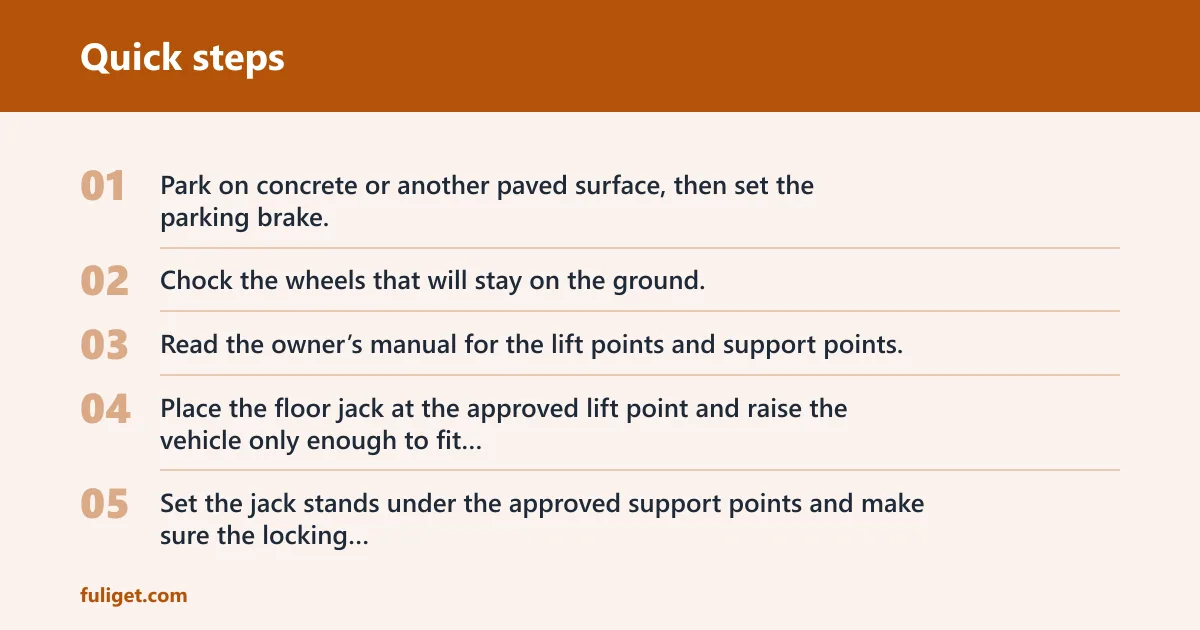
- Park on concrete or another paved surface, then set the parking brake.
- Chock the wheels that will stay on the ground.
- Read the owner’s manual for the lift points and support points.
- Place the floor jack at the approved lift point and raise the vehicle only enough to fit the stands.
- Set the jack stands under the approved support points and make sure the locking mechanism fully engages.
- Lower the vehicle slowly until the weight rests on the stands.
Use two stands if you lift one end, and use four stands if you support the whole car. A jack stand supports the weight of a lifted vehicle; it is not a side prop. Check the label on each stand and make sure the rating fits the load it will carry. If a pair is used on one end, the pair rating still has to cover that end of the vehicle. To compare capacity, use the weight on the end you are lifting, not just the vehicle’s total curb weight, and make sure the stand rating on the label covers that load.
If you lift the front of a front-wheel-drive sedan, the rear wheels stay on the ground, so chock the rear wheels. Set the front stands under the approved front support points, not under the oil pan, steering rack, or floor pan.
Jack stand matrix
Use this decision matrix as a quick check before you go under the vehicle. If the surface is wrong, stop. Gravel, soft ground, steep slopes, and damaged asphalt can let stands sink or tilt.
| Vehicle layout | Approved stand placement | Wheel chocking | Stop conditions |
|---|---|---|---|
| Unibody car | Factory jack points or reinforced pinch welds named in the manual | Chock the wheels that stay on the ground; place chocks opposite the lifted end | Stop on gravel, uneven asphalt, soft ground, or if a pinch weld is not reinforced |
| Body-on-frame truck | Frame points approved by the manual; rear axle only if the manual allows it | Chock the opposite axle and any wheel that remains on the ground | Stop if the frame point is blocked by rust, damage, or suspension interference |
| Rear axle lift | Rear axle housing or another approved rear support zone | Chock front wheels; if lifting one rear corner, chock the diagonal wheel on the ground | Stop if brake lines, sway bars, or exhaust parts touch the saddle |
| Front subframe lift | Front subframe only where the manual approves it | Chock rear wheels, and keep the parking brake set | Stop if the subframe point is not flat, is rusty, or the saddle does not sit square |
How do you check stability?
After the vehicle settles onto the stands, run a gentle shake or push test from the body, not the stands, and keep clear of the underside while doing it. The vehicle should not noticeably wobble, creak, tilt, or settle during the stability check. If it moves, stop and reset the setup before anyone goes underneath. Never trust the floor jack alone.
- Push lightly on the body near the supported end.
- Look for wobble, creeping, saddle tilt, or a settling sound.
- Check that both stand saddles sit square and that the locking mechanism stays fully engaged.
- Stop and lower the vehicle if any movement appears.
- Reposition the stands only after confirming the support points and surface.
A common first-timer mistake is to lower the car and assume the setup is fine because it did not move much at first. A slow shift can show up a few seconds later as the suspension loads the stands. That is a stop condition, not a signal to crawl under faster.
If that did not work, reset the setup from the start. Move to a better surface, confirm the stand placement in the owner’s manual, and recheck the locking mechanism for wear or damage. If the vehicle still rocks after transfer, do not continue.
Common mistakes
Soft, sloped, or damaged ground is the biggest problem. Gravel is especially poor because it can shift under load, and damaged asphalt can crumble or sink. Concrete is better than loose or damaged ground, and hard paved surfaces are better only when they are flat, sound, and not heat-softened. If the ground is uneven enough that one stand sits higher than the other, stop and find a better spot.
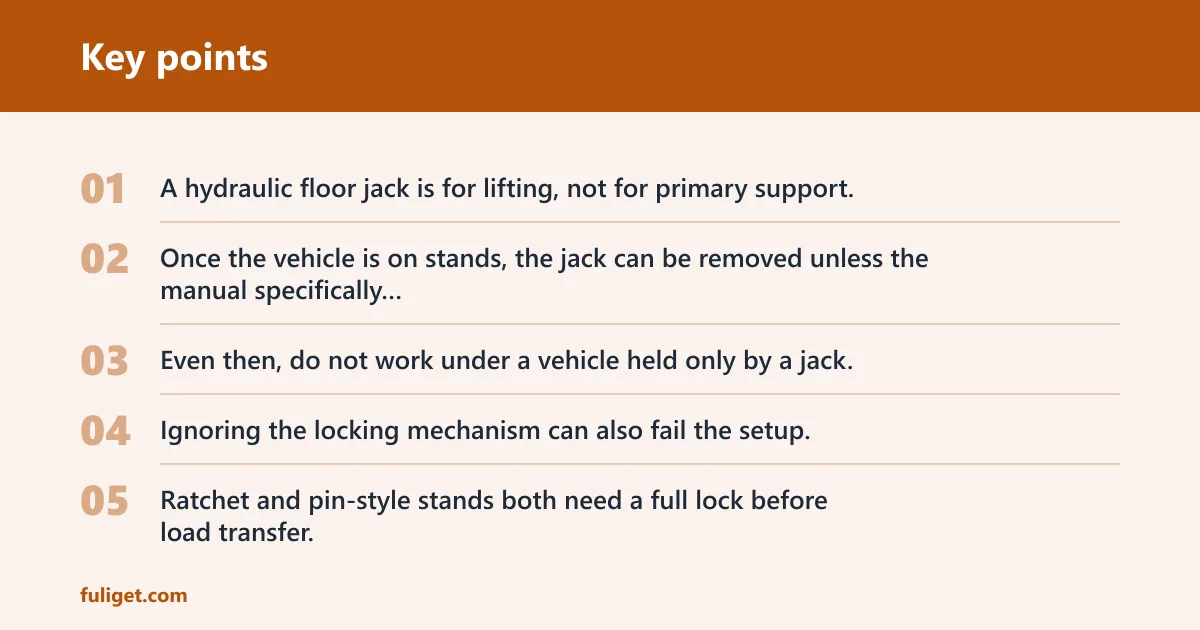
Trusting the jack alone is another mistake. A hydraulic floor jack is for lifting, not for primary support. Once the vehicle is on stands, the jack can be removed unless the manual specifically tells you to keep it in place as an extra support. Even then, do not work under a vehicle held only by a jack.
Ignoring the locking mechanism can also fail the setup. Ratchet and pin-style stands both need a full lock before load transfer. Inspect for bent teeth, missing pins, cracked welds, or damaged saddles. If a stand appears in a safety notice or recall, stop using it until the maker’s fix is complete.
For capacity, do not assume the number on the box is a pair rating. Read the label and confirm whether the rating is per stand or for the pair. A conservative rule is to choose stands that clearly cover at least half the vehicle’s weight for the end being lifted, as the vehicle and stand maker’s instructions allow.
Say your compact SUV is on a driveway with a cracked, sloped asphalt patch near the garage. Even if the stands sit flat for a moment, the surface can shift under load transfer. The correct move is to relocate to a flatter paved area, not to “make do” with the damaged spot.
Frequently asked questions
Are jack stands safe?
Yes, when the surface is flat and hard, the stands are rated correctly, and the support points match the vehicle. They are not safe on their own if the stand is damaged, the locking mechanism is not fully engaged, or the vehicle is sitting on soft or sloped ground.
Where should jack stands be placed?
Place them at manufacturer-approved support points: factory jack points or reinforced pinch welds on many unibody cars, frame points on many trucks, or axle and subframe points only where the manual allows it. Do not use floor pans, plastic covers, or other thin body parts.
Where should you put jack stands?
Put them under the same support zone the manual names for the lift. If you are lifting one end, use a matched pair at that end. If you are supporting the whole vehicle, use four stands. Chock the wheels that remain on the ground before lowering the load.
Where is it safe to put jack stands?
It is safe to put them on flat, level concrete or another hard, sound paved surface, with the saddles square on approved support points. Avoid gravel, soft soil, slopes, and damaged asphalt. If the surface shifts, sinks, or feels uneven under load, move the vehicle before going under it.