

How to Drive Up Car Ramps Without Overshooting

Drive up car ramps by centering the tires, approaching straight at idle, and braking when the tire reaches the ramp’s stop point or a marked stop line. Overshooting can bend the ramp or push the car farther than the jack stands are ready for. This guide shows the alignment checks, crawl speed, and stop timing that keep the wheels centered and the car parked correctly on the ramps.
What you’ll need
- Drive-on car ramps with the manufacturer’s load rating and fit instructions
- At least two wheel chocks; rubber chocks are preferred on smooth floors
- A hard, level, paved or concrete surface that is dry and free of oil or loose debris
- The vehicle owner’s manual for weight and clearance information
- The ramp instructions for the controlling load limit and setup method
- A helper only if the product manual allows it and you need a spotter for alignment
Follow the vehicle and product manuals, never work under a vehicle held only by a jack, keep items out of airbag zones and the driver’s view, and check local laws.
What to know before you start
Verify the ramp manufacturer’s load rating first, then compare it with the vehicle weight source from the door sticker or owner’s manual. If the rating is shown per pair, use the pair rating against the vehicle load on that axle or the vehicle weight called for by the manual; if it is shown per ramp, make sure the two ramps together still cover the axle load the manual requires. For setup decisions, front axle load matters more than whole-vehicle weight because the front tires carry the load that starts the climb.
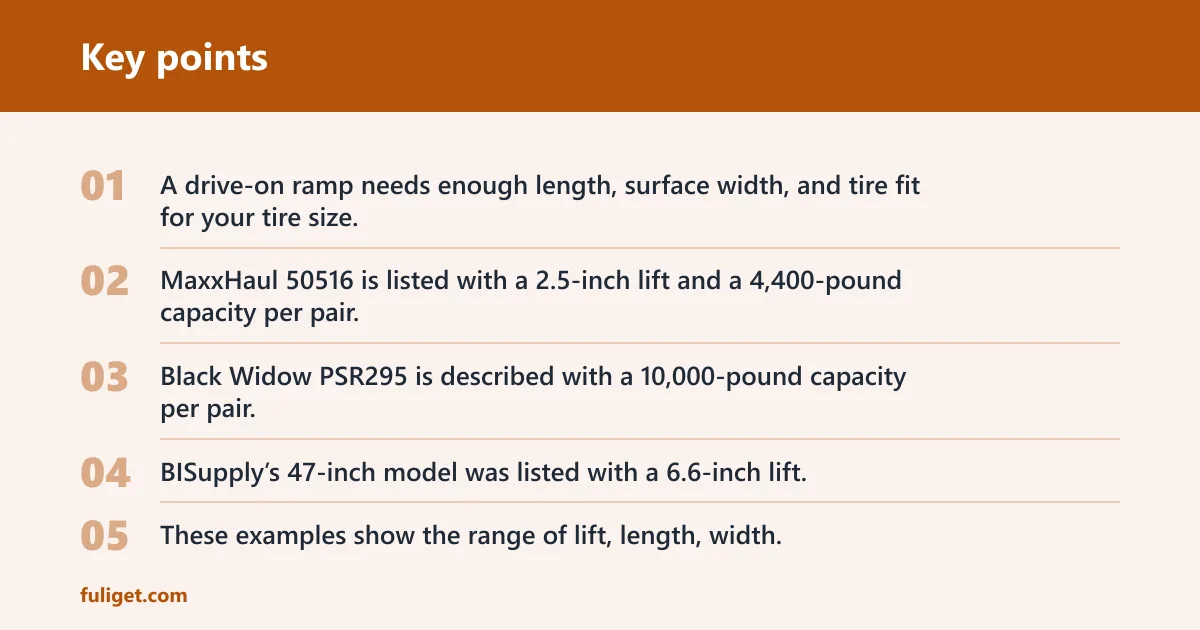
Ramp design matters. A drive-on ramp needs enough length, surface width, and tire fit for your tire size, and the pair rating must suit the job. MaxxHaul 50516 is listed with a 2.5-inch lift and a 4,400-pound capacity per pair. Black Widow PSR295 is described with a 10,000-pound capacity per pair, a 35.5-inch length, and a 12-inch surface width. BISupply’s 47-inch model was listed with a 6.6-inch lift. These examples show the range of lift, length, width, and capacity to compare against your vehicle’s clearance and weight needs before choosing a ramp.
Low-profile ramps give a longer approach and smaller lift, which helps lowered or low-clearance vehicles that would scrape on a steeper angle.
Surface condition changes the setup. Use a dry, flat concrete slab or paved driveway. Avoid wet, oily, dusty, or uneven ground, because the car can drift while you are still trying to center the tires. That is a slip problem, not an overshoot problem, and the fixes are different.
Overshoot prevention checklist
| Vehicle setup | Approach cues | Stop cues |
|---|---|---|
| Wheel straight; ramps centered to each tire path; floor dry; chocks ready | Hood line centered on the ramp pair; idle crawl; keep the tire aimed at the center of the ramp face | Brake when the tire reaches the ramp stop or your marked stop line |
| Front axle load checked against ramp instructions; tire width fits the ramp surface width | Use a straight, slow approach with no steering input once the tire meets the ramp | If the tire climbs past the cue, stop, back off, and reset before another try |
| Low-profile car paired with a longer ramp when needed | Watch the tire path, not both ramp edges at once; use the hood centerline or mirror edge as the main cue | If the front tires stop partway up, hold brake pressure and reassess alignment before retrying |
How do you line up the tires with the ramps?
Center the ramps before the car moves, then use the hood centerline or a mirror edge as the main guide. The goal is a straight tire path into the ramp face, not a last-second correction after the tire has already touched the incline.
Use a simple alignment routine
- Set both ramps straight and parallel to each other.
- Pull forward until the front tires are just before the ramp faces.
- Check that the hood centerline points at the center of the ramp pair.
- Adjust the car position until each tire is aimed at the middle of its ramp.
- Keep the wheel straight and begin the crawl only after the tires are centered.
If the left tire points an inch toward the edge while the right tire looks centered, stop, back up, and reset the car so both tires face the middle of the ramps. A small steering correction on the climb can push one tire off the side.
How do you drive up car ramps without overshooting?
Use a five-step crawl, not a rush. Approach dead straight, let the tires meet the ramp face, and stop at the manufacturer’s stop point or marked stop line. Longer ramps reduce overshoot risk because they give the tire more distance to settle, while short ramps and larger tires can make the stop point arrive quickly.
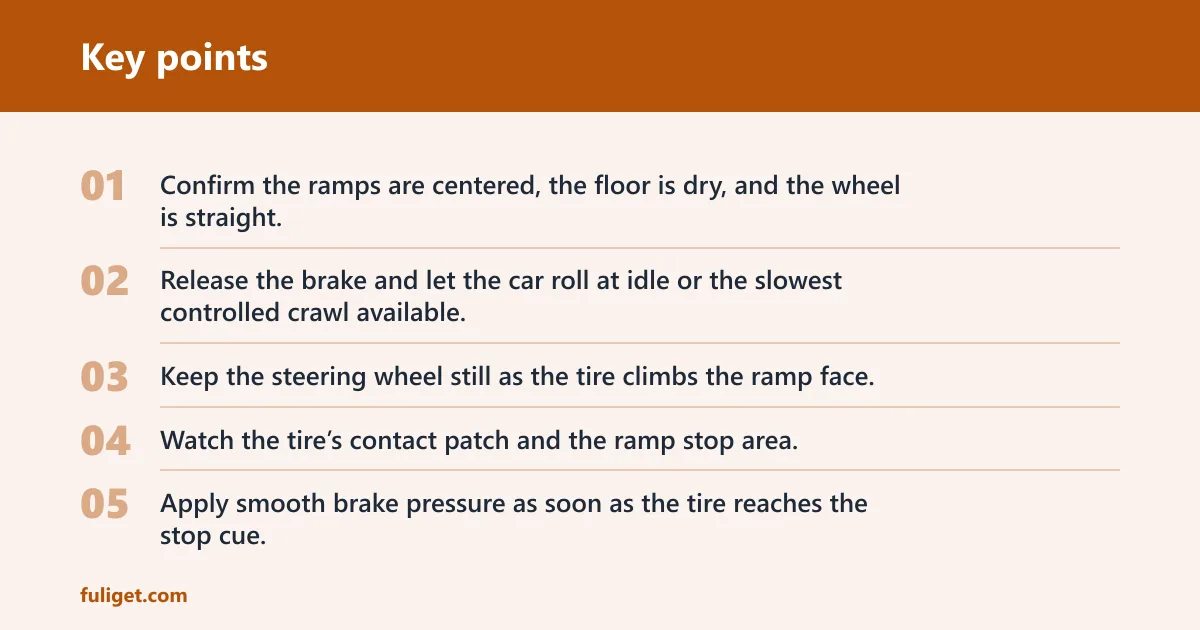
Five-step approach
- Confirm the ramps are centered, the floor is dry, and the wheel is straight.
- Release the brake and let the car roll at idle or the slowest controlled crawl available.
- Keep the steering wheel still as the tire climbs the ramp face.
- Watch the tire’s contact patch and the ramp stop area; prepare to brake before the final contact point.
- Apply smooth brake pressure as soon as the tire reaches the stop cue, then hold the car still.
Use the ramp maker’s stop feature if the model has one. If the ramp has a raised stop or full-seat area, that feature controls where the tire should finish. If it does not, mark the intended stop point exactly as the manual allows and stop there instead of guessing. Once the tires are positioned, shift to Park or first gear as the manual directs and set the parking brake before leaving the driver’s seat.
A common first-timer mistake is looking at the outer ramp edges instead of the tire’s center path. That makes small steering changes late in the climb. Keep the main visual cue on the hood centerline and let the ramp stay fixed in front of it.
What if the car climbs too far or slips?
If the tires pass the stop point, the car should be backed down slowly before trying again. If a front tire stops partway up, do not force the climb with extra throttle; reset the alignment and retry from the floor. If a ramp slips, come off it completely and fix the floor or chock setup before another attempt.
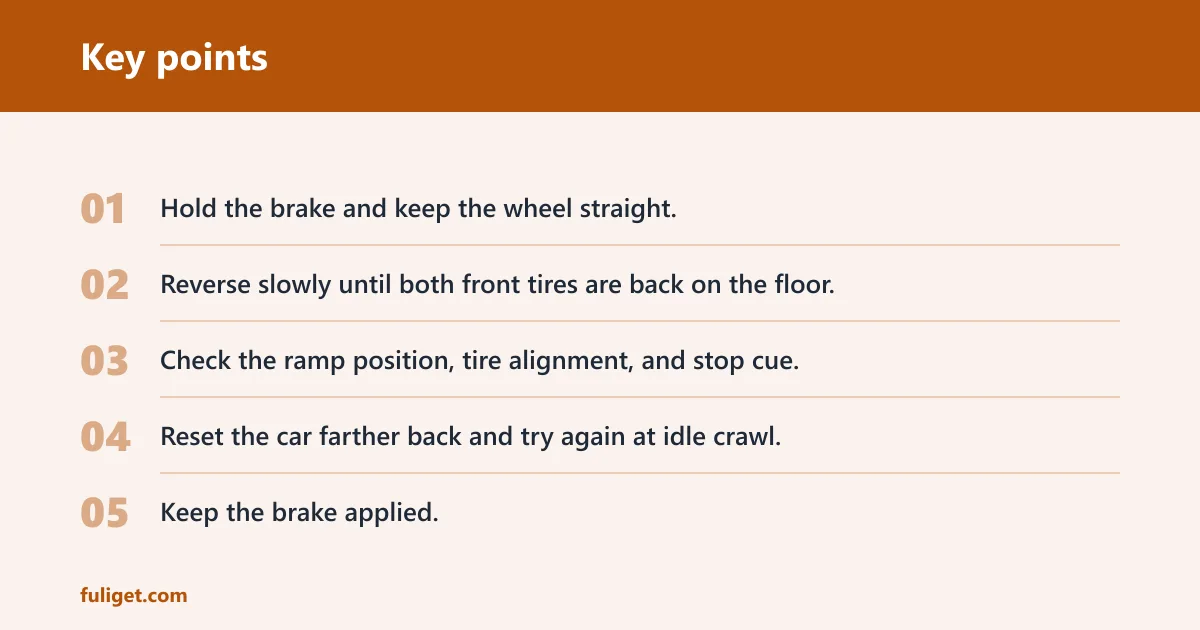
If the tire overshoots
- Hold the brake and keep the wheel straight.
- Reverse slowly until both front tires are back on the floor.
- Check the ramp position, tire alignment, and stop cue.
- Reset the car farther back and try again at idle crawl.
If the front tires stop partway up
- Keep the brake applied.
- Shift to park or first gear only as your manual directs.
- Back down, then realign the tires with the ramp centers.
- If the car is low, switch to a longer or gentler ramp profile.
If a ramp shifts or slides
- Stop the car and back off the ramp.
- Check the floor for moisture, dust, or oil.
- Reset the ramps on a hard, level surface and place chocks behind the wheels.
- Use rubber chocks on smooth concrete if the manual allows them.
Picture a lowered coupe on a 35.5-inch ramp with a short front overhang. The tire may reach the stop cue faster than expected because the approach angle is steeper than the car wants. A longer ramp or lower lift usually gives more time to brake before the tire runs too far.
How do you use car ramps at home?
Place the ramps on a dry concrete or paved surface, center them with the tire paths, and use at least two wheel chocks before leaving the driver’s seat. Car ramps work best for routine under-car access when the manual allows that setup and the ramp rating matches the vehicle’s weight.
Do not treat every ramp as a universal support. Check the manufacturer’s instructions for the exact load limit, the tire width it accepts, and whether it is intended only for service work or also for storage while the vehicle sits on it.
How do you keep car ramps from slipping?
Slip prevention starts on the floor, not at the stop cue. Put the ramps on a dry, level, paved or concrete surface, clear loose grit or oil, and use chocks behind the rear wheels. A rubber base or anti-slip feature is useful only if the ramp maker approves it for that model.
Do not mix slip fixes with overshoot fixes. A tire can climb too far on a stable ramp, and a tire can stop correctly on a ramp that later shifts because the floor is slick. Solve the two problems separately.
How safe are car ramps?
Car ramps are safe when the ramp rating fits the vehicle, the floor is hard and level, the tires are centered, and the stop cue is followed exactly. They are not safe substitutes for a random floor jack setup, and they are not for soft soil, wet pavement, or damaged ramps.
Inspect for cracks, bends, rust, wear, and damaged contact surfaces before each use. If the ramp looks compromised or the product manual is unclear, replace it or choose a different model instead of guessing.
Common mistakes
- Starting with the wheels turned. Keep the steering straight before the first roll.
- Using ramps on a damp or uneven surface. Dry, level concrete is the safer setup.
- Confusing slow speed with correct alignment. Crawl speed still needs centered tires and a straight path.
- Stopping too late because you waited for the ramp end instead of the earlier cue.
- Place them first.
Frequently asked questions
What should I do if my tires keep climbing too far on the ramps?
Back the car off, realign the ramps, and shorten the approach only if the manual allows a marked stop cue. If the ramp is too short for the tire size or ride height, switch to a longer or lower-angle model rather than trying to react later.
Can low-profile cars drive up regular ramps safely?
Sometimes, but only if the ramp length and incline match the car’s clearance. Low-profile ramps give a gentler approach and usually reduce scrape risk. Check the product listing for lift height, length, and surface width before you choose a model.