
How to Use a Jump Starter on a Car Safely

Use a portable jump starter by turning the car off, matching it to a 12V system, connecting red to the battery’s positive terminal and black to an unpainted metal ground, then starting the engine after the unit’s ready light is solid. If a jump-start attempt fails after about one or two tries, stop and inspect the battery or clamps. Done wrong, you can short the battery, damage electronics, or trigger sparks near hydrogen gas. This guide covers the safe sequence, device checks, and the failure points most guides skip.
Jump starter checklist guide
Before you connect anything, confirm the jump starter is charged, the clamps are clean and intact, and the vehicle is a standard 12V system. The battery may be low because lights were left on, the car has seen short trips, it has aged, or cold weather has reduced output. Check the owner’s manual for battery location, jump-start posts, and any model-specific restrictions.
| Check | What to look for | Go / no-go warning |
|---|---|---|
| Battery voltage match | Vehicle is a 12V passenger-car system | Go only if the jump starter is rated for the same nominal voltage; do not mix system voltages |
| Clamp polarity | Red lead is positive, black lead is negative | No-go if you cannot identify the positive terminal or jump-start post with confidence |
| Ground-point choice | Unpainted bolt, chassis point, or other bare metal away from the battery | No-go if the only option is a painted or insulated surface |
| Battery condition | No swelling, cracking, leaking, or heavy corrosion | No-go for a damaged battery; call for help instead |
| Go / no-go warnings | Clamps undamaged, cable insulation intact, unit powers on, ready light steady | No-go if the unit shows faults, cables are frayed, or clamp jaws do not grip firmly |
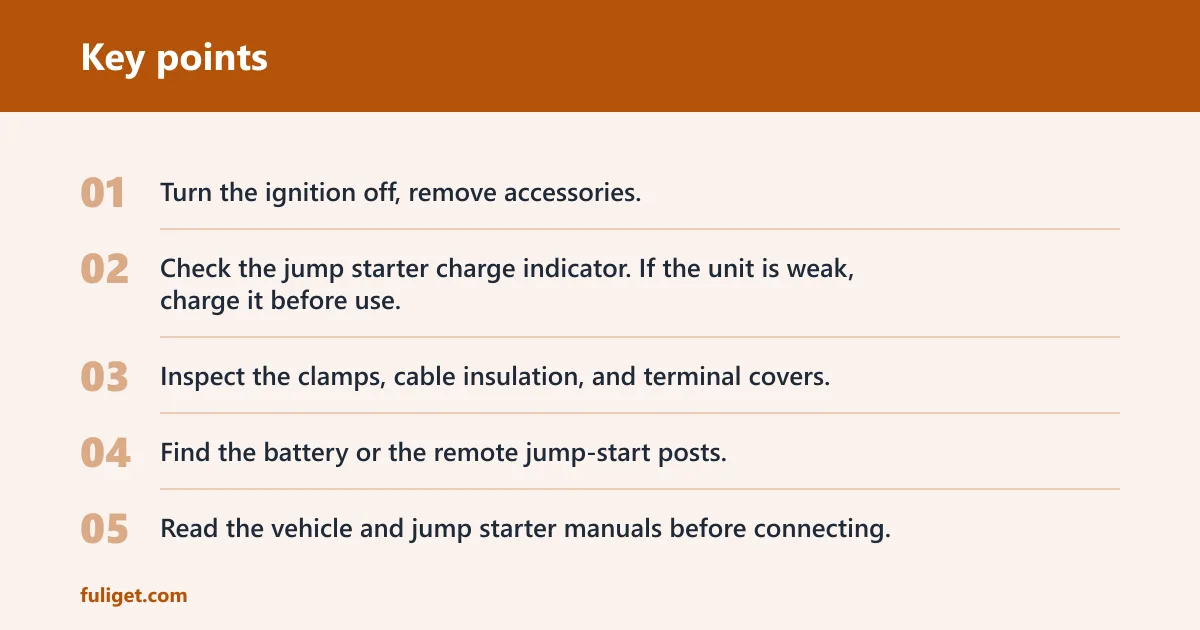
- Turn the ignition off, remove accessories, and keep the gear selector in Park or Neutral as directed by the owner’s manual.
- Check the jump starter charge indicator. If the unit is weak, charge it before use.
- Inspect the clamps, cable insulation, and terminal covers. Stop if you see cracks, exposed wire, heavy corrosion, or loose clamp jaws.
- Find the battery or the remote jump-start posts. Some vehicles keep the battery under a hood cover, in the trunk, or under trim.
- Read the vehicle and jump starter manuals before connecting. The exact sequence can vary by model.
📊 Car and Driver says the process is estimated at 10–15 minutes. Source: Caranddriver.
How do you prepare the car and jump starter?
Start with a 12V compatibility check, then locate the battery or jump-start posts and clear the area around them. Put on gloves and goggles, use a flashlight if the compartment is dim, and keep loose clothing, jewelry, and tools away from moving parts. If the battery is swollen, cracked, or leaking, do not try to jump-start it.
Confirm 12V compatibility
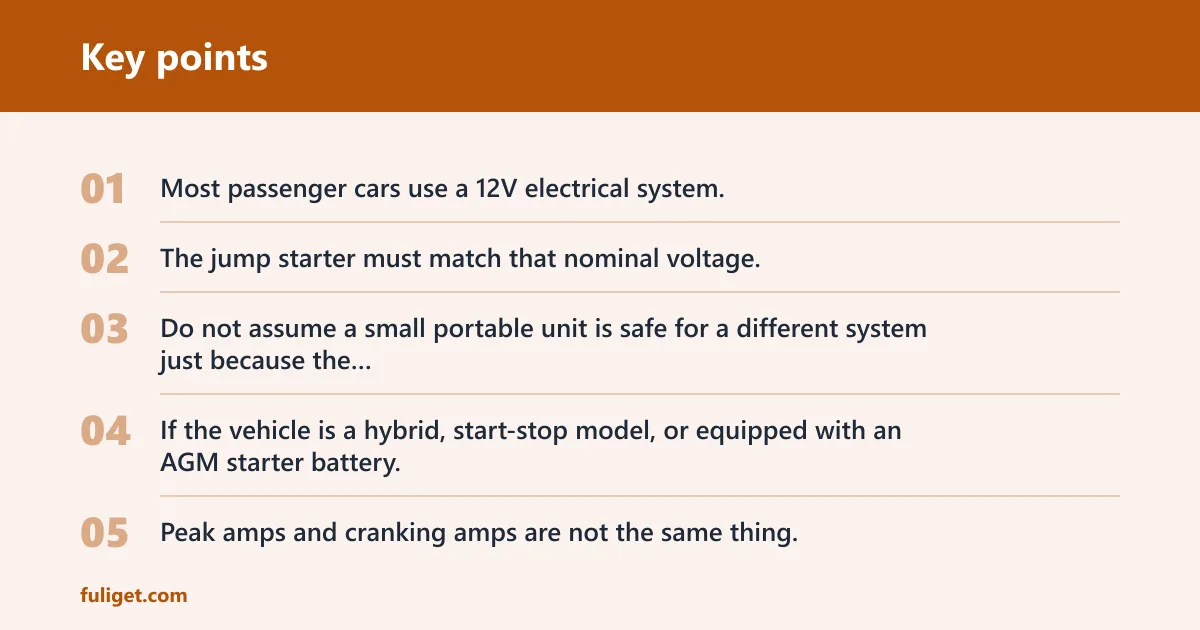
Most passenger cars use a 12V electrical system. The jump starter must match that nominal voltage. Do not assume a small portable unit is safe for a different system just because the clamps fit. If the vehicle is a hybrid, start-stop model, or equipped with an AGM starter battery, follow the owner’s manual and the jump starter’s instructions exactly.
Peak amps and cranking amps are not the same thing. Peak amps is the brief maximum output a portable jump starter may advertise, while cranking amps describes starting current under load. Check the manufacturer’s listing for your model instead of guessing from the box shape or size.
Find the battery or jump-start posts
Look for the positive terminal, usually marked with a plus sign or a red cover. The negative terminal is marked with a minus sign or connected to the body ground. Some cars hide the battery under a cover or place it in the trunk, so the manual matters here. Car and Driver notes that some vehicles keep the battery in the trunk.
If the terminals are covered, remove only the covers the manual allows you to remove. Do not pry on brittle plastic if it resists. If you cannot clearly identify the posts, stop and verify the markings before you attach a clamp.
Picture a sedan with the battery under a plastic engine cover and the positive post tucked under a red flap. That cover is common. The safe move is to open the flap, confirm the plus sign, and place the red clamp only after the contact point is visible.
Clear the area and read the manuals
Keep the clamps apart while you work. That warning sounds basic, but it matters most during the first few seconds, when both leads are loose. Car and Driver advises not to attach the last black clamp to the dead battery. Use the vehicle manual and the jump starter manual as the final word on clamp sequence for that model.
If the battery location is hard to reach, a magnetic flashlight and a pocket screwdriver can help you see labels and remove small covers. Car and Driver lists both tools as useful for the job.
How do you connect the clamps?
Connect the red clamp to the positive terminal or positive jump post first, then attach the black clamp to a bare-metal ground point away from the battery. After that, turn on the jump starter or select the required ready setting if the manual calls for it, then start the vehicle. The exact sequence still follows the unit’s instructions, so do not skip the manual.
Red to positive first
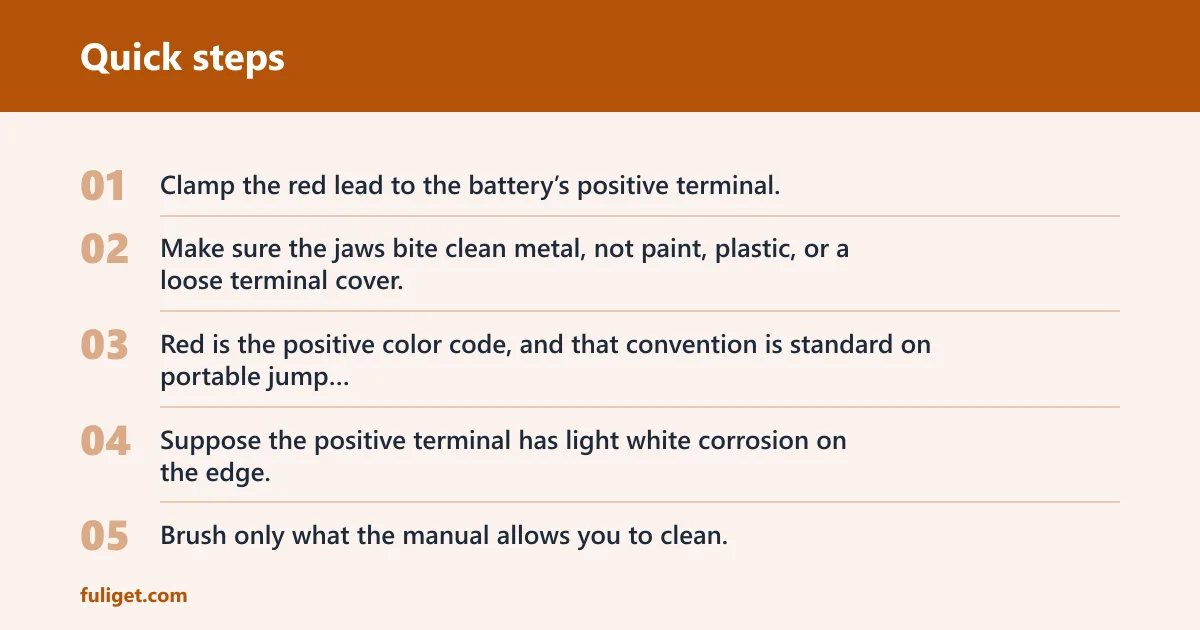
Clamp the red lead to the battery’s positive terminal, or to the marked positive jump post if the battery is remote-mounted. Make sure the jaws bite clean metal, not paint, plastic, or a loose terminal cover. Red is the positive color code, and that convention is standard on portable jump starters and jumper cables.
Suppose the positive terminal has light white corrosion on the edge. Brush only what the manual allows you to clean, then attach the clamp to the cleanest exposed part you can reach. If the terminal is severely corroded or damaged, stop and call for help.
Black to ground last
Attach the black clamp to a metal part of the engine or chassis away from the battery. A bare bolt or unpainted chassis point is ideal. This final ground connection helps keep sparks away from the battery case. Car and Driver advises not to attach the last black clamp to the dead battery.
If there is no exposed metal where you expected it, look for another approved ground point listed in the owner’s manual. Do not clamp to painted sheet metal, plastic brackets, or fuel-system parts. If you cannot find a safe ground point, stop.
What to do if terminals are hidden or corroded
If the battery is under a cover, in the trunk, or behind trim, use the jump-start posts the manufacturer provides instead of hunting for the battery itself. If corrosion blocks the terminal, do not force the clamp through it. Corroded or loose terminals can create a poor connection that powers the indicator light but still fails to crank the engine.
A common first-timer mistake is to get a green light on the jump starter and assume the job is done. The unit may be powered on, yet the clamp contact may still be too poor to deliver starting current. Recheck the jaws, then recheck the ground point before you try again.
When should you use boost mode?
Use boost mode only if the jump starter manual says the battery is so low that the unit will not detect it. Some portable jump starters need a manual override or boost setting before cranking a deeply discharged battery. Others should not be forced into that mode. Follow the device instructions, not a generic rule.
Very low battery behavior
A dead battery can still be recoverable if the terminals are sound and the battery case is intact. If the jump starter powers on but refuses to enter ready mode, the battery may be too deeply discharged for normal detection. That is where boost mode may be required on some models.
Do not assume every jump starter supports the same override behavior. One model may need a button press; another may block boost use unless you confirm polarity first. Read the label and the manual before you try to force the start.
Manual override warnings
Boost mode is not a cure for damaged hardware. Do not use it if the battery is swollen, cracked, leaking, or visibly overheated. Do not use it if the clamps are damaged or if the cable insulation is split. The safest choice is to stop when the equipment or battery shows physical damage.
When not to force a start
If the jump starter only powers on for a second, if it repeatedly drops out, or if you hear clicking without engine rotation, do not keep cycling it blindly. Retry limits and cooldown periods vary by device. Check the manual, then pause before another attempt.
What if the engine will not crank?
If the jump starter powers on but the engine will not crank, stop and check clamp contact, polarity, and battery condition before you try again. A no-crank result can mean poor connection, a very cold battery, a heavily discharged battery, or a fault that jump-starting cannot fix. Repeated failed starts are a signal to call for help.
Check clamp contact and polarity
Confirm the red clamp is on positive and the black clamp is on the correct ground point. Make sure the jaws are gripping clean metal and not hanging from the edge of a terminal cover. If the ready light is on but the starter only clicks, poor clamp contact is a common cause.
Check battery condition and temperature
Cold weather reduces battery performance, and a weak battery may need a longer charge recovery after the first start. Look again for swollen case walls, cracked plastic, or wet residue around the posts. If any of those are present, do not keep cranking.
Say your compact hatchback has been parked outside overnight at freezing temperatures. The jump starter may power on, but the engine can still refuse to turn until the battery warms slightly or the connections are improved. If it still will not crank after the manual’s allowed attempts, stop.
Decide when to stop and call for help
Stop immediately if you see smoke, feel heat at the clamps, smell burning, cannot verify polarity, or have repeated failed attempts. Also stop if the battery case is damaged or if the vehicle manual forbids user jump-starting. Roadside assistance is the right move when the setup is unsafe or the fault is beyond a flat battery.
How long should you let it run?
After the engine starts, let it run for a few minutes before disconnecting, then drive or keep it running long enough to recover some charge. Exact time varies by vehicle and battery state, so use the owner’s manual when it gives a specific recommendation. Car and Driver estimates the process at 10–15 minutes overall.
Idle time after the first start
Let the engine idle briefly with the jump starter still connected if the manual says to do so, then remove the clamps in reverse order. That means black off first, then red. Keep the clamps apart as you disconnect them.
Driving time to recover charge
A short idle is usually not enough to refill a very weak battery. Drive the vehicle or let it run for several minutes after a successful start so the alternator can add charge. Exact recovery time varies, and a battery that died from age or a charging fault may not recover well.
Why a repeat no-start points to a deeper fault
If the vehicle starts once and then fails again soon after, the battery may be worn out or the charging system may have a fault. A battery that repeatedly needs jump-starting is not normal service behavior. That is the point to inspect the battery, the terminals, and the alternator path, or to ask for professional help.
Frequently asked questions
How do I use a car battery jump starter?
Turn the vehicle off, confirm the jump starter matches the car’s 12V system, connect red to positive and black to a bare-metal ground away from the battery, then follow the unit’s ready-light or boost instructions before starting. Disconnect in reverse order after the engine runs. Check the owner’s manual for model-specific steps.
How do I safely jump start a car?
Use gloves, goggles, and a flashlight if needed. Inspect the clamps, cables, and battery case first, and stop if you find damage, heavy corrosion, or a swollen battery. Keep the clamps apart, use the correct polarity, and place the final black clamp on bare metal away from the battery.
What order do I connect the clamps?
For a portable jump starter, the usual safe pattern is red to the positive terminal or positive post first, then black to a ground point away from the battery. Some models require the jump starter to be turned on or placed in boost mode after the clamps are attached. The manual controls the exact sequence.
Can I use a jump starter on a completely dead battery?
Sometimes, yes. Some portable jump starters include a manual override or boost mode for a battery that is too deeply discharged to detect. If the battery is swollen, cracked, leaking, or extremely damaged, do not force it. If boost mode fails after the allowed attempts, stop and call for assistance.
Where do I put the black clamp if there is no exposed metal?
Use the nearest approved bare-metal ground point listed in the owner’s manual, such as an unpainted bolt or chassis point away from the battery. Do not clip to painted metal, plastic, or fuel-system parts. If you cannot find a safe ground point, do not guess.
How long should I let the car run after starting?
Let it run for a few minutes after the first start, then drive or idle long enough to put some charge back into the battery. The exact time varies by vehicle and battery condition. If the car starts once and then quickly fails again, the battery or charging system likely needs attention.