

Jack Stands: How to Choose and Use Them Safely

Choose jack stands with a pair rating and height range that fit the vehicle, use a matched pair on manufacturer lift points, and always support the vehicle after lifting it with a floor jack. If a stand is underrated, overextended, set on a weak surface, or placed off the approved point, the vehicle can drop, bend structural parts, damage the underbody, or pin you underneath. This guide covers stand sizing by vehicle type, compatible jack and lift-point choices, and a step-by-step stability checklist before you go underneath.
What you’ll need
- Hydraulic floor jack
- Matched pair of jack stands with the right rating and height range
- Wheel chocks or tire wedges
- Owner’s manual
- Flashlight or work light
- Gloves
- Optional pinch-weld adapter if the manual allows that support method
What makes jack stands safe?
Jack stands are safer when they are correctly rated, tall enough without being overextended, wide enough for the vehicle and surface, and placed on approved support points. A hydraulic floor jack lifts the vehicle first; the stands support it while you work underneath. Safe setup changes with unibody cars, body-on-frame trucks, EVs, and lifted vehicles.
The floor jack and the stands do different jobs
Jack stands are recommended for any work underneath a vehicle. A hydraulic floor jack is a common tool for lifting a vehicle for this work, and it should be placed only at a manufacturer-approved lift point with enough capacity for the vehicle. Once the vehicle is up, the stands take the load.
A scissor jack is for emergency wheel changes, not extended under-vehicle work. The guidance is plain: do not use a scissor jack for this job. Its narrow base, limited lift control, and lower stability make it a poor substitute for a floor jack plus stands.
Capacity, height range, and footprint work together
Capacity alone does not make a stand appropriate. A tall truck on undersized stands can wobble even if the printed rating looks generous, while a low sedan can be awkward on stands whose minimum height will not fit under the support point.
Start with rated capacity per pair, because many stands are sold that way. Then check the minimum height, maximum working height, and base footprint. If any one of those is wrong, the setup is wrong.
Vehicle design changes where support is safe
Unibody cars and many crossovers often use pinch welds or other manual-approved lift points. Body-on-frame SUVs and trucks commonly use frame rails, and some procedures also allow axle tubes or other approved points.
Support points differ by model, trim, and underbody layout, so check the owner’s manual for the exact locations before you place a stand. Rusted pinch welds, bent seams, damaged frame areas, and battery-protected underbodies on EVs all call for extra caution and often a different approved support point.
How do you choose the right jack stands?
Choose jack stands by matching four things to the vehicle and the job: rated capacity per pair, height range, stand design, and base width. The right stand for a compact sedan may be wrong for a tall SUV or a lifted truck, even if both carry the same printed rating.
Match rated capacity per pair to the end being supported
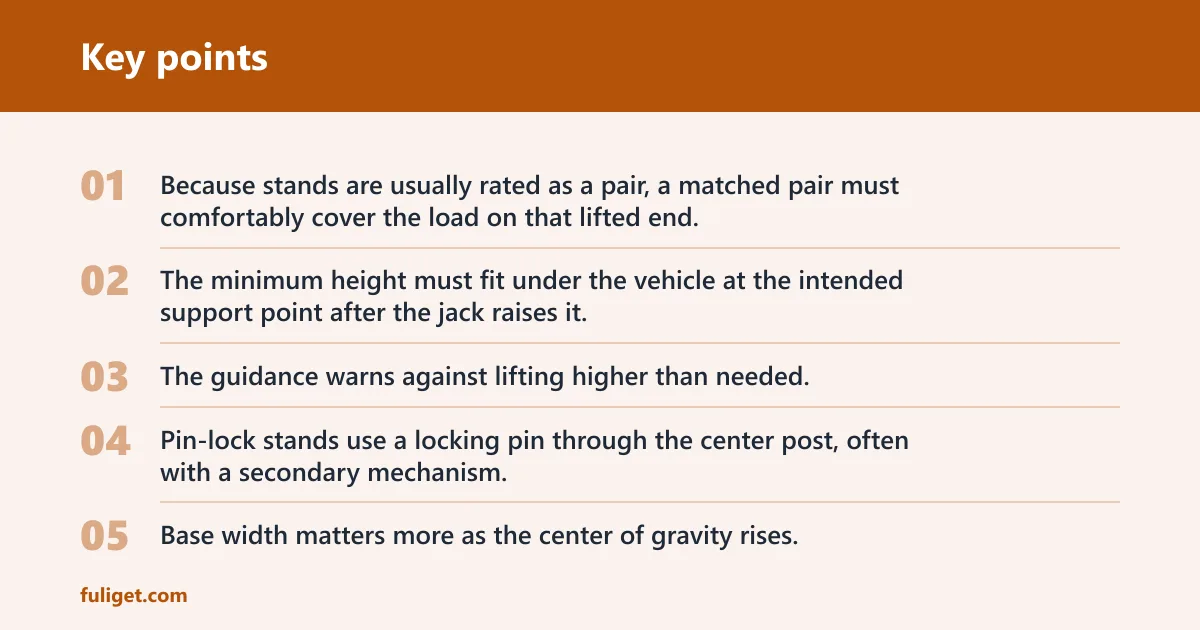
Use the vehicle’s gross weight rating from the door label or manual as a reference point, then choose stands that can support the lifted end with margin and verify the actual support points and vehicle balance instead of relying on a simple half-the-weight rule or vehicle class alone. Because stands are usually rated as a pair, a matched pair must comfortably cover the load on that lifted end.
That is why “bigger is always safer” is incomplete advice. An oversized stand can create a height problem on a low car, while an undersized stand can be unstable on a taller vehicle even before weight becomes the issue.
Choose a height range that fits before and after lifting
The minimum height must fit under the vehicle at the intended support point after the jack raises it. The maximum height must let the stand carry the vehicle at the working height you actually need, without placing the post near its limit unless the design and vehicle clearly allow it.
The guidance warns against lifting higher than needed. That matters because extra height increases side load and makes any rocking motion worse. (Wikihow)
Pick the stand design for the vehicle and the work
Ratcheting stands are the most common. They are quick to set and easy to fine-tune, which suits routine brake, tire, and oil-service work. They are a poor fit if the release pawl or teeth are worn, dirty, or poorly engaged.
Pin-lock stands use a locking pin through the center post, often with a secondary mechanism. They take longer to adjust but give very clear engagement. They make sense for heavier vehicles, taller working heights, and owners who want an obvious mechanical lock.
Tripod stands are usually intended for specific support tasks, often under axles or narrow points, rather than general four-corner vehicle support. Their smaller footprint can help where space is tight, but that same shape can be a poor choice on uneven concrete joints or for tall lifted vehicles.
Check base size and saddle shape
Base width matters more as the center of gravity rises. SUVs, trucks, and lifted vehicles need a wider, more stable footprint than a low sedan. Saddle shape matters too: a saddle that centers well on a frame rail may be awkward on a narrow pinch weld unless the manual approves an adapter.
Suppose a crossover needs the front lifted for brake work. A short, narrow stand may carry the weight on paper, but if its base is small and the post is extended high, a minor shove on a stuck lug nut can move the vehicle enough to unseat the saddle.
Stand selection checklist table
Use this as a general shopping reference for stand capacity and height, then verify the exact support points, underbody clearances, and the load on the lifted end in the owner’s manual before lifting. The values below are broad baselines for common vehicles, not permission to ignore vehicle-specific limits.
| Vehicle type | Minimum load rating per pair | Minimum working height | Base width or stability notes | Recommended support points | Pre-use safety checks |
|---|---|---|---|---|---|
| Sedan | 2-ton pair | 11 in | Moderate footprint is usually enough on sound concrete; avoid very tall extension on compact stands | Pinch welds or other manual-approved lift points on the unibody | Check pinch welds for rust, folds, or crushed seams; confirm saddle centers on the point |
| SUV | 3-ton pair | 13 in | Wider base helps with higher center of gravity and taller tire sidewall movement | Frame rails or manual-approved reinforced points; some unibody SUVs still use pinch points | Verify whether the vehicle is unibody or body-on-frame; make sure both stands reach equal height without near-max extension |
| Truck | 3-ton pair for lighter trucks, 6-ton pair for heavier or taller setups | 15 in | Wide footprint matters; avoid narrow stands under high frame-rail positions | Frame rails, axle tubes, or other points listed in the manual for the job being done | Check for undercoating slip, uneven frame contact, and enough stand height without stacking anything under the stand |
| Lifted vehicle | 6-ton pair | 17 in | Use the widest practical base; extra ride height increases side movement and makes even small shifts more serious | Manual-approved frame points; verify aftermarket lift parts do not block safe stand placement | Inspect altered suspension geometry, longer travel, and tire movement; confirm the stand remains stable at the required height |
When jack stands are the right choice
Jack stands are the right choice any time you need to work under a car while it’s lifted, because they hold the vehicle up after the jack has done the lifting. The supporting guide explains the main jobs jack stands handle, why a floor jack alone is not enough, and how to match the stand rating to the vehicle’s weight.
It also shows where stands should sit on the car, how to keep the setup stable, and when ramps or a lift may be a better option. If you want a clear safety-focused overview of the basics, start with jack stands used.
Where do jack stands go under a vehicle?
Jack stands go under manufacturer-approved support points, usually pinch welds or reinforced lift pads on unibody vehicles and frame rails or other approved structural points on body-on-frame vehicles. Never guess. The owner’s manual is the cleanest way to confirm safe contact areas, especially on EVs and modified vehicles.
Unibody cars and crossovers
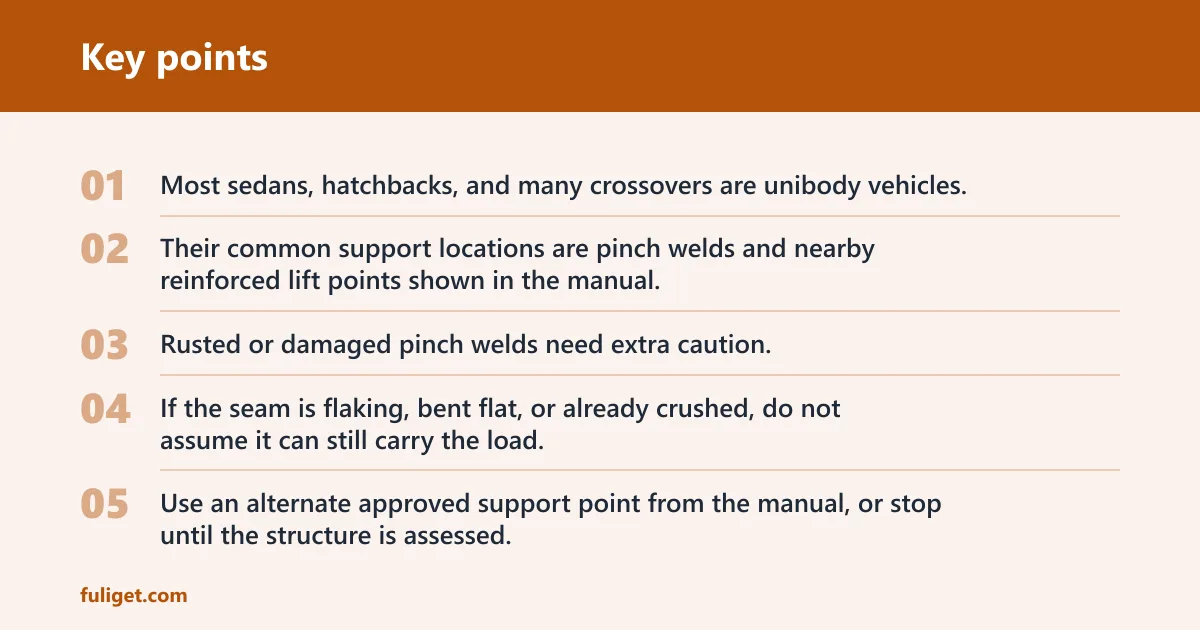
Most sedans, hatchbacks, and many crossovers are unibody vehicles. Their common support locations are pinch welds and nearby reinforced lift points shown in the manual. Those points are designed to take concentrated load in ways that floor pans and random sheet metal are not.
Rusted or damaged pinch welds need extra caution. If the seam is flaking, bent flat, or already crushed, do not assume it can still carry the load. Use an alternate approved support point from the manual, or stop until the structure is assessed.
Picture a ten-year-old compact car with heavy rust at the rear pinch points. The stand saddle may look centered, but as the vehicle settles, the seam can fold and shift the load sideways. The safer move is to use a manual-approved reinforced point closer to the suspension mount, if the manual lists one.
Body-on-frame SUVs and trucks
Frame rails are common support points on body-on-frame vehicles because they are structural and easier to access. Some service jobs also allow support at axle tubes or other approved points, but that depends on the vehicle and the job, so it is not a default stand location.
Do not treat every exposed metal part as a support point. Differential covers, thin control arms, skid plates, and exhaust-related brackets are not stand locations unless the manufacturer specifically approves them.
EVs and lifted vehicles
EV underbodies often place the battery pack across much of the floor, which limits safe contact areas. The owner’s manual matters even more here because a wrong stand location can damage the battery case or miss the reinforced lift area entirely.
Lifted vehicles introduce another issue: the approved frame point may now sit much higher off the ground, which can force smaller stands close to full extension. That is one reason tall vehicles often need stands with both more height and a wider base.
How do you use jack stands safely?
Use a hydraulic floor jack to lift at an approved point, set the stands at matched heights under approved support points, then lower the vehicle onto them in a controlled way and verify stability before getting underneath. The safest surface is flat and level, and a garage or flat driveway is best.
- Set the area. Park on a flat, level surface. Gravel, pavers with gaps, sloped driveways, and soft asphalt can let the jack or stands tilt, sink, or roll as the load shifts.
- Secure the vehicle. Activate the parking brake before lifting. Place wheel chocks at the wheels remaining on the ground; when lifting the rear, chocks should be placed around the wheels, and purpose-built chocks are the right choice.
- Inspect the stands. Before loading them, check both stands for bent legs, cracked welds, damaged locking teeth, missing pins or parts, and any recall status that applies to the model you own. Do not use a damaged or questionable stand.
- Confirm the points. Open the owner’s manual and identify the jack contact point and the stand support points for the end being lifted. Make sure you are not using sheet metal, a floor pan, a battery case, or a suspension arm unless the manual specifically allows it.
- Position the floor jack. Roll the hydraulic floor jack under the approved lift point and center the pad carefully. A hydraulic floor jack gives more controlled lifting for this work than a scissor jack when its capacity matches the vehicle and the contact point is correct.
- Lift only enough. Raise the vehicle only enough to place the stands and get the clearance the job requires. More height than needed increases instability and can force the stands farther up their range.
- Set equal stand height. Adjust both stands to the same notch or pin position before sliding them into place. Equal height keeps the load shared and reduces the chance that one stand takes the vehicle first and tips the other out of line.
- Place the saddles. Center each saddle under the approved support point so the load will sit squarely in the middle of the stand. On pinch welds, use an approved adapter if needed; on frame rails, check that the saddle does not ride on an edge or radius.
- Lower with control. Crack the floor jack release slowly and watch both stands as the vehicle settles. Stop if a stand shifts, the saddle walks off center, or one side contacts before the other in a way that cocks the vehicle. Never get under the vehicle while it is still being raised or lowered onto the stands.
- Top up if needed. If one side settles lower than expected, raise that end again and increase both stands by one notch or about 1 inch, then repeat the controlled lowering. Never shim a stand with wood, pavers, or stacked metal.
- Run the stability check. Inspect for full saddle contact, matched stand height, upright posts, and bases fully planted on the surface. Give the vehicle a light shake at a solid body point, not a hard shove, to confirm it does not rock, shift, or click onto a different position.
- Keep backup contact. If the manual and workspace allow, leave the floor jack in light contact at the approved lift point after the stands are loaded. Do not let the jack carry weight; it is only a secondary contact point, not a substitute for the stands.
- Work with exits clear. Keep tools, creepers, and loose parts from blocking the path back out. If the vehicle settles, leans, or makes a new noise while supported, stop and reset the setup before continuing.
If that didn’t work
If the stands will not fit under the support points without lifting higher than needed, move up to a stand with a lower minimum height for low cars or a taller working range for trucks and lifted vehicles. If the saddles do not seat cleanly on the approved point, use a manual-approved adapter or choose a different approved support point. If the base feels narrow for the vehicle, switch to a wider-footprint stand rather than trying to compensate with extra height or improvised pads.
Prevention
Before every job, compare the stand’s minimum height, maximum working height, and pair rating against the vehicle you plan to lift. That two-minute check prevents most beginner mistakes before the jack ever touches the car.
Common mistakes
Using the right rating with the wrong height
A stand can be strong enough and still be the wrong tool. Low cars run into trouble when the stand will not fit under the support point; tall vehicles run into trouble when the stand must be extended too far to reach the frame.
Trusting rusty pinch welds
Pinch welds are common support locations, but they are not invincible. Rust, prior collision damage, and past lifting mistakes can weaken the seam enough to let the saddle slip or crush the edge.
Choosing too little base for a tall vehicle
Higher vehicles move more at the top for the same amount of movement at the ground. That is why SUVs, trucks, and lifted vehicles benefit from wider bases and less post extension.
Using the wrong surface
A flat, level surface is preferred for lifting a vehicle, and a garage or flat driveway is best. Soft asphalt on a hot day, gravel that lets legs dig in, or pavers with gaps can let one stand settle lower than the other after the vehicle is already loaded.
Skipping the stability routine
A common first-timer mistake is lowering the car onto the stands, seeing that it stayed up, and crawling underneath immediately. The safer routine is to stop, look at saddle contact, verify matched heights, then do a light shake test before getting under the vehicle.
Frequently asked questions
How do I choose the right jack stands for my car?
Start with the vehicle’s gross weight rating as a reference, then choose a matched pair rated for the lifted end of the vehicle with margin instead of assuming the load is split evenly. After that, check that the minimum height fits under the car, the maximum height reaches the working position, and the base is wide enough for the vehicle’s height and weight.
How high should I raise a car before placing jack stands?
Raise it only enough to place the stands and get the access the job needs. The vehicle should not be lifted higher than needed. Extra height adds instability and often pushes the stands farther up their range.
Can I use a scissor jack instead of jack stands?
No for under-vehicle work. A scissor jack is not appropriate for extended support because it is less stable and offers less controlled lifting than a hydraulic floor jack. Use the floor jack to raise the vehicle, then support it with a matched pair of properly placed jack stands.
What surface is safest for using jack stands?
A flat, level surface is the safest choice, with a garage floor or flat driveway preferred. Avoid gravel, sloped concrete, pavers with gaps, and soft asphalt because the stand feet or jack wheels can shift, sink, or settle unevenly under load.
Do I need wheel chocks when using jack stands?
Yes. Chock the wheels that stay on the ground so the vehicle cannot roll while the other end is lifted. Use purpose-built wheel chocks when possible. Keep the parking brake on before lifting.
How do I lower a car safely off jack stands?
Clear tools and people first, then raise the vehicle slightly with the floor jack at the approved lift point until the stands unload. Remove the stands, lower the vehicle slowly, then remove the chocks last. Do not yank a stand out while the vehicle is still resting on it.
Are jack stands safe for working under a vehicle?
Yes, when they are correctly rated, set on a flat and level surface, placed at approved support points, and checked for stable contact before anyone goes underneath. They are far safer than relying on a jack alone, but only if the setup is matched to the vehicle and the lift height.