How to Use a Portable Tire Inflator Without Overinflating

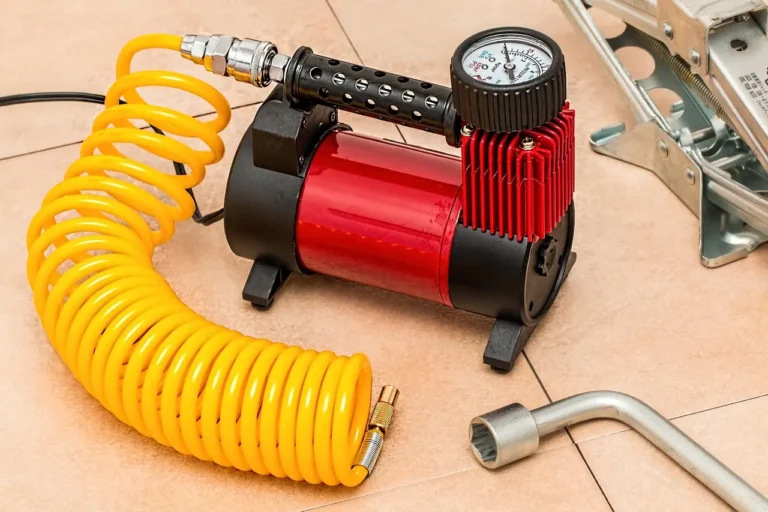
Set your portable tire inflator to the tire placard PSI, stop 1 psi early, then verify with a separate gauge and bleed down if needed. Overinflating can reduce grip, speed center wear, and throw off braking and ride quality. This guide gives you a repeatable inflation routine with a two-check stop method and a final pressure check.
What you’ll need
- Portable tire inflator with a digital pressure display
- Vehicle owner’s manual or door-jamb tire placard
- Valve stem access with the dust cap removed
- Optional second tire gauge for verification
- 12V corded or battery-powered inflator with a valve chuck that fits Schrader valves
What PSI should you set?
Use the door-jamb placard PSI as your target. That number is the recommended cold tire pressure for your vehicle, load, and tire size. Do not use the tire sidewall maximum as the fill target; that number is a safety limit, not the normal operating pressure.
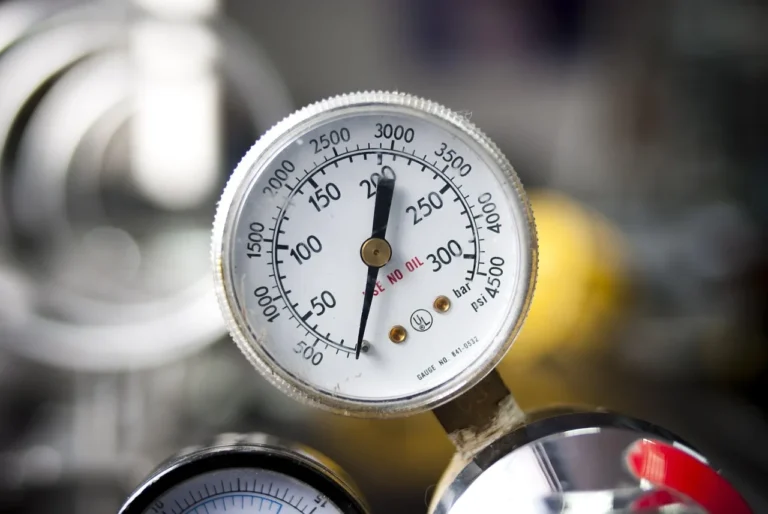
If your inflator reads in bar or kPa, convert from the placard PSI before you start. Many digital gauges let you preset one value and watch live pressure during inflation, which cuts user error. If the placard gives different front and rear values, set each tire to its own number.
How to read the placard correctly
Check the sticker on the driver-side door jamb, then confirm the same value in the owner’s manual if needed. Use the cold-tire figure measured before driving far, or after the tires have sat long enough to cool. Warm tires read higher, so a warm tire can hide an underfill or make a top-off look complete too soon.
If the vehicle is carrying extra load, use the higher placard or manual setting only when the manufacturer lists one. Do not guess a higher PSI because the cargo area is full.
Do you need to run the engine?
For most 12V corded inflators, yes. Run the engine so the vehicle battery does not drop while the inflator draws power. A 12V vehicle outlet also limits cord reach, so confirm that the cable reaches all four tires before you start.
Battery-powered inflators do not need the engine running, but their runtime depends on charge level and battery condition. Cold weather can cut performance, so a full charge matters more in winter. If the display dims, the pump slows, or the unit stops early, recharge before using it again.
12V corded vs battery-powered inflators
A 12V corded inflator fits jobs where steady power matters and the cable does not get in your way. A battery-powered model is easier to place at each tire and avoids cord routing, but it depends on charge and can lose output in the cold.
Portable tire inflator checklist
| Step | What to look for | Exact action | Stop condition |
|---|---|---|---|
| Read the target | Door-jamb placard PSI, not sidewall maximum | Write the placard PSI on a note or set it on the display | Target is confirmed for that axle |
| Check the seal | Steady hiss should stop once the chuck seats | Push the chuck straight on and hold it square to the valve stem | Display stabilizes without air escaping |
| Inflate | Live pressure climbing in PSI | Inflate in short runs of 5 to 10 seconds | Reading reaches 1 psi below target |
| Verify | Gauge matches after a brief settle | Wait 30 to 60 seconds, then recheck with a second gauge | Final pressure is at target or within 1 psi |
If the gauge overshoots by about 1 to 3 PSI, release air in a brief tap, then recheck after each tap. Do not hold the bleeder open for several seconds unless the tire is far above target. A 1 psi correction is usually enough to bring a warm or fast-inflated tire back into range.
| Common PSI target | When to recheck | If the gauge overshoots by 1–3 PSI |
|---|---|---|
| Placard PSI for daily driving | 30 to 60 seconds after stopping inflation | Bleed down 1 PSI, then verify again |
| Partial top-off for a tire that was low | After removing and reseating the chuck | Do not chase the display continuously; correct in 1 PSI steps |
| Higher load setting listed by the manufacturer | After the vehicle is loaded and the tires are cold | Stop at the listed value, then confirm with a second gauge |
How do you know when to stop inflating a tire?
Stop just below the placard PSI, then verify the reading after the hose is removed or the pump pauses. Digital inflators with preset shutoff cut error, but they are still only one check. The final stop point is the verified pressure, not the first number the screen flashes.
For partial top-offs, stop 1 psi early and finish with a recheck. That buffer helps account for hose bleed, valve-seat loss, and the slightly different reading that can happen when the chuck comes off the valve stem.
Common mistakes
- Using the sidewall maximum as the target. The sidewall lists a maximum pressure limit, not the recommended operating PSI.
- Trusting auto shutoff alone. Auto-stop is useful, but the tire still needs a second pressure check.
- Ignoring a bad seal. If the chuck hisses, reseat it before you continue; a leak can make the final reading low and tempt you to overfill.
- Inflating a warm tire to the cold spec and walking away. Warm air expands, so the pressure can end up below target after the tire cools.
- Mixing units. PSI is the usual target, while bar, kPa, and kg/cm² are just alternate units on some displays.
Picture an SUV owner who loads camping gear and then tops off all four tires to the same number from the front placard. If the rear placard is different, that shortcut can leave the rear tires under- or overinflated for the load. Use the axle-specific placard value instead.
If the inflator is slow or will not seal, remove the chuck, inspect the valve core area for dirt, and try again with a straight-on fit. If the seal still leaks, swap to a second gauge or a different chuck before adding more air. Slow inflation can also point to low battery charge or a weak 12V supply.
Frequently asked questions
How do I use a portable tire inflator without overinflating the tire?
Set the inflator to the door-jamb placard PSI, inflate in short bursts, and stop 1 psi early. Then wait 30 to 60 seconds, check the pressure again, and bleed down if needed. That routine prevents the common mistake of chasing the live display past the target.
What PSI should I set before inflating my car tire?
Use the cold PSI printed on the driver-side door-jamb placard. If the inflator uses bar or kPa, convert that placard number before you start. If the vehicle manual lists different front and rear values, set each tire to its own target.
Do I need to run the engine when using a 12V tire inflator?
Usually yes. A 12V corded inflator draws from the vehicle electrical system, so running the engine reduces battery drain. Keep the cord routed clear of the belt and fan area, and confirm it can reach every tire before you begin.
What happens if I overinflate a tire with a portable inflator?
Too much pressure can reduce the contact patch, increase center wear, and make the ride harsher. If the reading is only 1 to 3 PSI high, bleed air in short taps and recheck. Larger overshoots call for a slower correction, not another full inflation cycle.
Can a battery-powered tire inflator overinflate a tire?
Yes. Battery power changes portability, not the need to watch the gauge. A battery-powered model can still run past the target if you ignore the display or trust auto-stop without verification. Check charge level before starting, especially in cold weather.
How do I attach the hose and valve chuck correctly?
Remove the dust cap, line up the chuck squarely with the Schrader valve, and press it on until the seal feels firm. If air hisses, reseat it before inflating. A straight, sealed connection prevents slow leaks and gives the display a stable reading.